Otras categorías que pueden resultarte útiles para Reparación y mantenimiento de techos de vehículos recreativos
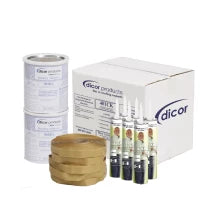


74 productos

$10.50 $14.99
Dicor | Sellador autonivelante para juntas de vehículos recreativos | 501LSW-1 | Blanco
Ahorre $4.49

$10.50 $15.99
Dicor | Sellador autonivelante para juntas de vehículos recreativos | 501LST-1 | Color tostado
Ahorre $5.49

Ahorre $5.49

$10.50 $15.99
Dicor | Sellador autonivelante para solapes de vehículos recreativos | 501LSV-1 | Marfil
Ahorre $5.49
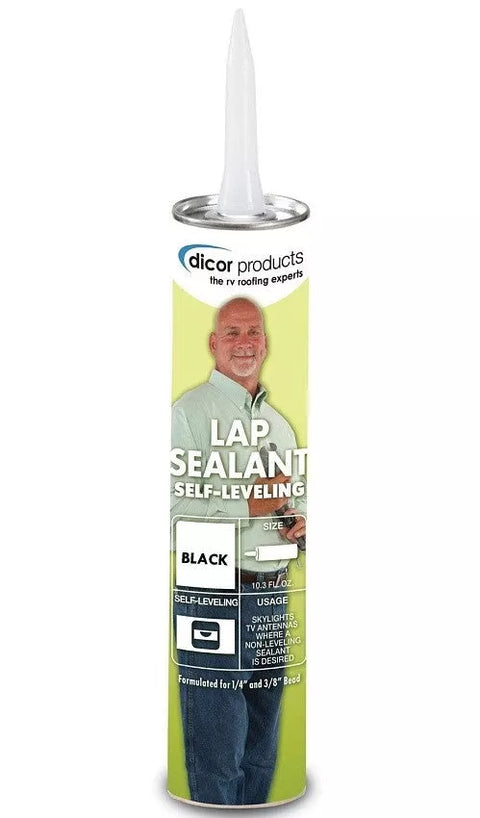
$10.50 $16.99
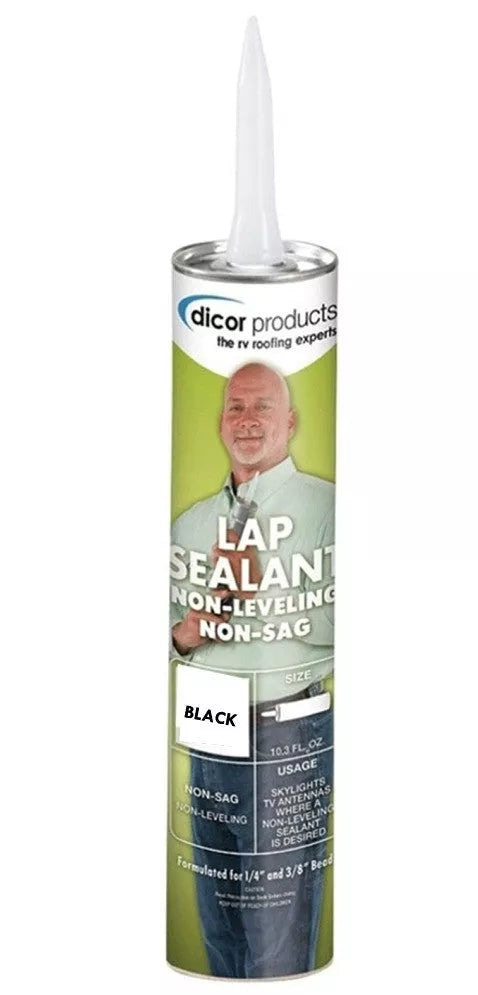
Dicor | Sellador autonivelante para juntas de vehículos recreativos | 501LSB-1 | Negro
Ahorre $6.49
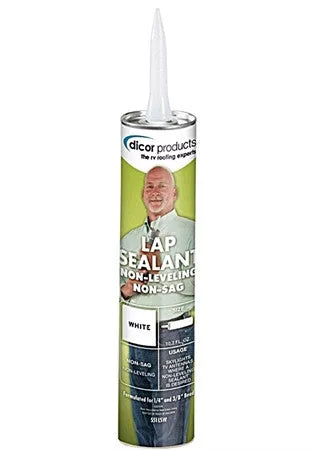
$10.50 $17.99
Dicor | Sellador de solape para vehículos recreativos que no se descuelga | 551LSW-1 | Blanco
Ahorre $7.49

$10.50 $17.99
Dicor | Sellador de solape para vehículos recreativos que no se descuelga | 551LST-1 | Color tostado
Ahorre $7.49
$10.50 $17.99
Dicor | Sellador de solape para vehículos recreativos que no se descuelga | 551LSB-1 | Negro
Ahorre $7.49


$12.99 $19.99
Lippert | Sellador autonivelante de juntas Alpha Systems 1021 de bajo contenido de COV | 862144 | 283 g | blanco
Ahorre $7.00

$12.99 $19.99
Lippert | Sellador de solape Alpha Systems 1010 de bajo COV, sin descuelgue | 862157 | 283 g | blanco
Ahorre $7.00
Ahorre $12.00
Ahorre $11.00

$17.99 $19.99
Productos AP | Sellador para techos Sikaflex 505UV | 017-415763 | Blanco | No se descuelga
Ahorre $2.00

Ahorre $5.00

Ahorre $6.00


$21.99 $29.99
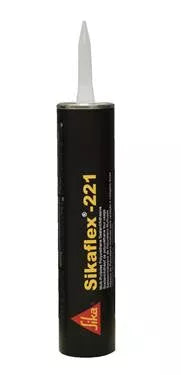
Productos AP | Sellador de masilla; Sikaflex 221; Sellador de poliuretano; Gris aluminio; Individual 017-90892 | 017-90892
Ahorre $8.00
Ahorre $7.00

Ahorre $7.00
Ahorre $7.00
Ahorre $5.00

Ahorre $60.00

Ahorre $70.00

$699.99 $849.99
Hengs | Kit de instalación universal premium para techos | 9623TFKITW | Blanco | 7 m x 2,9 m
Ahorre $150.00

$779.99 $939.99
Hengs | Kit universal de instalación de techo premium | 9629TFKITW | Blanco | 8,8 m x 2,9 m
Ahorre $160.00

$799.99 $969.99
Hengs | Kit de instalación universal premium para techos | 9633TFKITW | Blanco | 10 m x 2,9 m
Ahorre $170.00

$859.99 $999.99
Hengs | Kit universal de instalación de techos premium | 9638TFKITW | Blanco | 11,5 m x 2,9 m
Ahorre $140.00
$899.99 $1,099.99
Hengs | Kit de instalación universal premium para techos | 9642TFKITW | Blanco | 12,8 m x 2,9 m
Ahorre $200.00

$22.99 $29.99
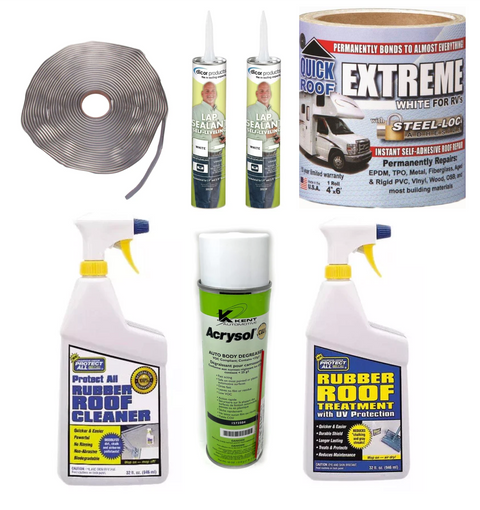
Hengs | Recubrimiento de caucho para techos de vehículos recreativos | 16-46032 | Cuarto de galón | Blanco
Ahorre $7.00

Ahorre $20.00

$119.99 $169.99
CoFair | Cinta de reparación rápida para techos | UBE475 | Rollo de 4" x 75' | Blanca
Ahorre $50.00

$99.97 $129.99
CoFair | Cinta de reparación rápida para techos | UBE625 | Rollo de 15 cm x 7,6 m | Blanca
Ahorre $30.02

$144.97 $161.99
CoFair | Cinta de reparación rápida para techos extremos - | UBE675 | Rollo de 6" x 75' | Blanca
Ahorre $17.02
$49.99 $64.99
CoFair | Cinta de reparación rápida para techos | B-UBE425 | Rollo de 4" x 25' | Negra
Ahorre $15.00
$41.97 $49.99
CoFair | Cinta de reparación rápida para techos | T-UBE425 | Rollo de 4" x 25' | Color canela
Ahorre $8.02

$62.99 $89.99
CoFair | Cinta de reparación rápida para techos | T-UBE625 | Rollo de 6" x 25' | Color canela
Ahorre $27.00

Ahorre $10.00

Ahorre $60.00


Ahorre $4.00

Ahorre $5.00
$59.99 $99.99
Hengs | Kit de parches adhesivos para techo de autocaravana | 60018 | Rollo de 4" x 37'
Ahorre $40.00

Ahorre $7.00
Comprender los detalles del mantenimiento del techo de su vehículo recreativo es fundamental para preservar su hogar sobre ruedas y garantizar viajes sin preocupaciones.

La guía definitiva para la reparación y el mantenimiento de techos de vehículos recreativos: una guía para un viaje sin fugas

