118 productos


Ahorre $40.00

$82.99 $129.99
Productos AP | Indicador de nivel de propano | 024-1002 | Paquete de 2 | Verificación de tanque
Ahorre $47.00

$17.99 $19.99
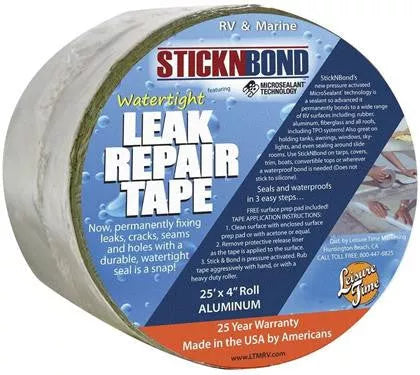
Productos AP | Sellador para techos Sikaflex 505UV | 017-415763 | Blanco | No se descuelga
Ahorre $2.00


$49.97 $59.99
Productos AP | Conjunto de persianas Slim Shade para ventilación de techo de autocaravana | 015-201612 | Blanco
Ahorre $10.02

$49.99 $59.99
Camco | Cepillo de lavado de flujo continuo para vehículos recreativos con mango ajustable | 43633
Ahorre $10.00


$10.00 $14.99
Dicor | Sellador autonivelante para juntas de vehículos recreativos | 501LSW-1 | Blanco
Ahorre $4.99
$59.99 $99.99
Hengs | Kit de parches adhesivos para techo de autocaravana | 60018 | Rollo de 4" x 37'
Ahorre $40.00

$18.99 $29.99
Hengs | Kit de parches adhesivos para techo de autocaravana | 60021 | Rollo de 4" x 60"
Ahorre $11.00

$24.99 $32.99
JCJ Enterprises | Rejilla antibarro para refrigerador de autocaravana | R300 | Norcold | Paquete de 3
Ahorre $8.00

$26.99 $37.99
JCJ Enterprises | Rejilla antibarro para refrigerador de autocaravana | R600 | Dometic | Paquete de 3
Ahorre $11.00
$20.99 $24.99
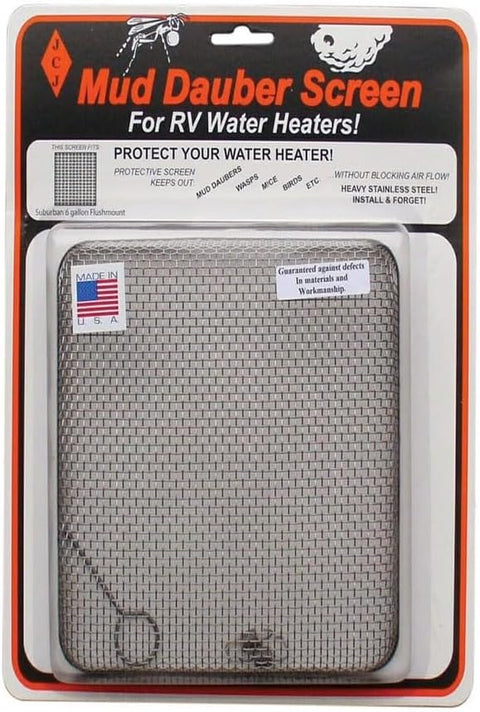
JCJ Enterprises | Rejilla de protección contra lodo para calentador de agua Suburban de 6 galones | W600
Ahorre $4.00
Ahorre $11.00

$24.99 $35.99
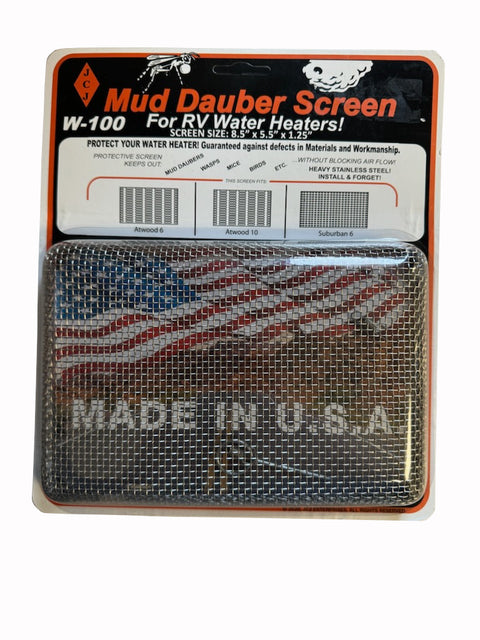
JCJ Enterprises | Rejilla de protección contra lodo Suburban para calentadores de agua Suburban de 10 y 12 galones | W200
Ahorre $11.00

$18.99 $24.99
JCJ Enterprises | Rejilla de lodo para hornos Suburban o Duo-Therm | M300 | Paquete de 2
Ahorre $6.00

Ahorre $7.00


Ahorre $5.00


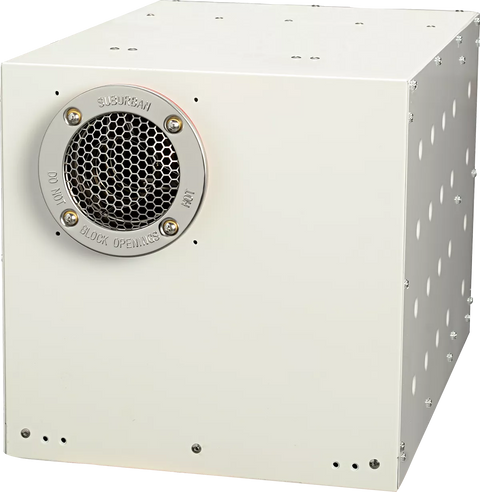
$609.99 $899.99
Suburban | Calentador de agua continuo sin tanque para autocaravanas 5581A | 5186A | 5286A | IW60
Ahorre $290.00

$849.99 $1,299.99
Suburban | RV Tankless Continuous Water Heater | 5280A | IW60RL | Recirculation Loop
Ahorre $450.00


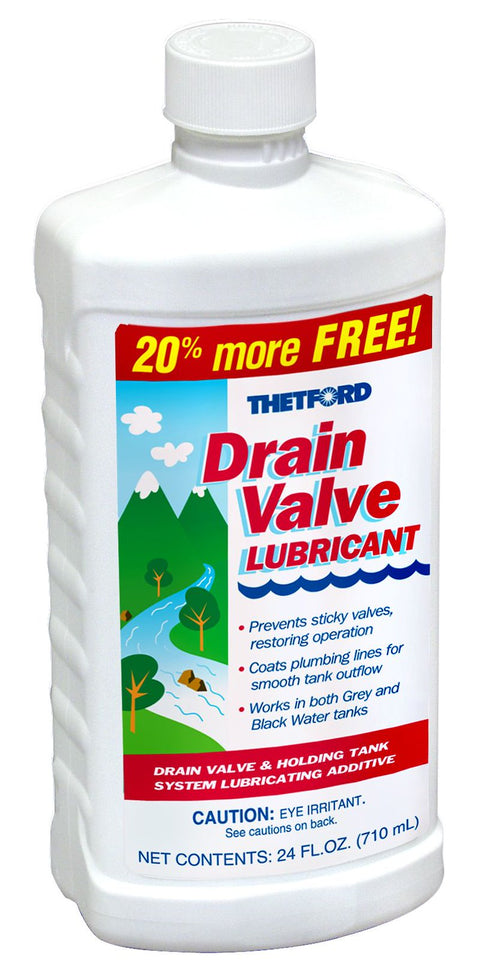
$7.99 $10.99
Thetford | Lubricante para válvula de drenaje de inodoros de autocaravanas | 15843 | 24 onzas
Ahorre $3.00


Ahorre $1.00


