
As the frost of winter melts away and the promise of adventure calls, it's time to get your home-away-from-home road-ready. Dewinterizing your RV is crucial, not just for a smooth first trip but also to extend the life of your recreational investment. Let's walk you through the moderate, yet incredibly rewarding, process of getting your RV out of hibernation and back onto the open road.

Step 1: Gather Necessary Supplies
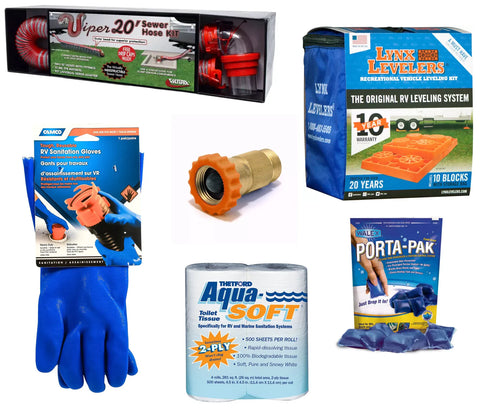
Before you get started, make sure you have all the supplies you'll need. It’s wise to stock up on:
- Non-toxic RV/Marine antifreeze (for flushing)
- A water hose for drinking water
- Thetford Drain Valve Lube
- Thetford Level Gauge Cleaner
- Thetford Seal Conditioner
- Camco Spring Fresh Cleaner/Dewinterizer
- Valterra AquaFresh Exterior Water Filter Kit
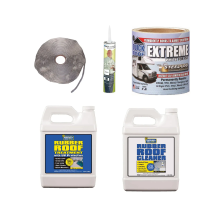
- Thetford Protect All Rubber Roof Cleaner and Treatment
- Dicor Self Leveling RV Lap Sealant
- Basic toolkit
- Replacement filters
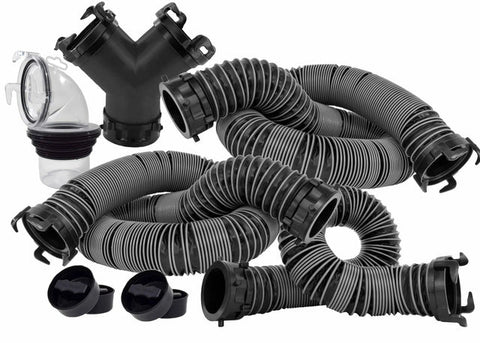
Step 2: Flush the Water System
Drain any remnants of non-toxic antifreeze from your plumbing. Start with the lowest point of your system and work your way up, opening all faucets, flushing toilets, and draining the holding tanks. Once you’ve flushed out the antifreeze (remember it's safe for the environment), sanitize the system using a bleach and water solution in your fresh tank, running it through all lines until you smell bleach at every faucet. Then let it sit for a few hours before flushing with fresh water until the bleach smell dissipates.
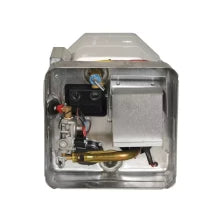
As a last step, reinstall and / or replace your water filter, if you removed it for winterization and reinstall the anode rod in your water heater that was removed during the winterization process and be sure to fill the water heater tank with water, before turning it on for the first time of the camping season to prevent costly damage to the water heater tank.
Step 3: Check for Leaks
After the water system has been flushed and pressurized, inspect all your plumbing connections, faucets, and showerheads for leaks. Catching these early can prevent bigger headaches down the road. Don't ignore any water stains or damage as they might indicate hidden leaks.
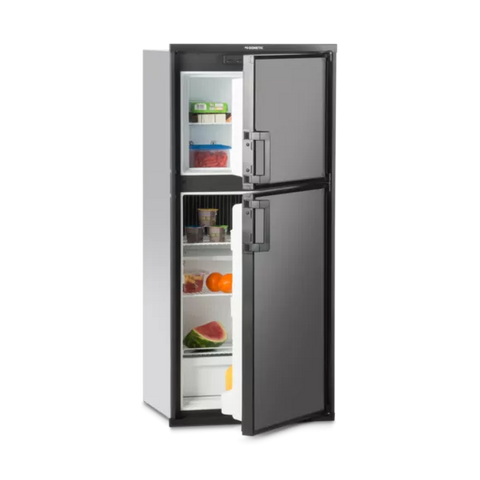
Step 4: Test the Appliances
Ensure appliances are operating correctly, especially those involving water, such as the water heater or washers, which can be particularly vulnerable to damage during freezing temperatures. It’s also a good time to check your propane levels and refill if necessary. Be sure to remove any rodent repellents or pest control devices before using your appliances.
Step 5: Clean and Sanitize
A thorough clean isn’t just about aesthetics; it’s about the health of your living space. Wash the exterior, clear out the ventilation systems, and give the interior a good scrub. Don’t forget to sanitize the water system with Thetford Level Gauge Cleaner to maintain hygiene levels.
Step 6: Check Safety Features
Safety should always be a priority. Test your smoke and carbon monoxide detectors, replacing batteries if necessary. Check the expiration dates on your fire extinguishers and evaluate any other safety equipment on board.
Step 7: Perform Maintenance Checks
Your tires can lose pressure in the cold, so check not just the pressure but also the tread wear before hitting the road.
If there are indications of any dry rot, bulges or bubbles or uneven wear on your tires, it is important to get the tires inspected and / or replaced as needed to prevent accidents and blowouts on the road.
If you are using a Tire-Minder or Tire Pressure Monitoring System be sure to take this time to test your tire monitoring system for proper operation.
Examine the battery, looking for corrosion, and test the electrical system. Also, apply a coat of Thetford Seal Conditioner to ensure your toilet's seals stay pliable and check roof seals and seams with Dicor Self Leveling RV Lap Sealant to prevent leaks.
Step 8: Perform Maintenance Checks
If you've removed the battery for the winter, it's time to reinstall it.
First, if the battery is a wet battery (lead acid) you will need to top off the cells with distilled water. Next, make sure the battery is fully charged and free of corrosion and proceed within reinstalling the battery. Finally, test if the charging voltage is within specs for your battery and converter charger.
Step 9: Test Your Propane System
Check for leaks in your propane system. You can do this by applying a soap and water solution to the gas line and regulator connections and turning on the propane. If bubbles form, you have a leak that needs to be repaired.
Conclusion
Taking the time to properly dewinterize your RV ensures its longevity and your comfort. It's an important part of ownership that can prevent issues during travel and ultimately protects your investment. As you go through this process, take pleasure in the knowledge that each step brings you closer to the adventures that await.
Tips to Remember
- Always refer to your RV’s manual for specific instructions regarding your particular model.
- While working with water systems, gloves are recommended to keep hands dry and clean.
- Routine maintenance doesn't just begin with dewinterization—make it a habit to regularly check on your RV's health.
By diligently following these steps, each voyage in your RV will start off on the right wheel, and you can look forward to season after season of memorable journeys.


Comments (0)
There are no comments for this article. Be the first one to leave a message!